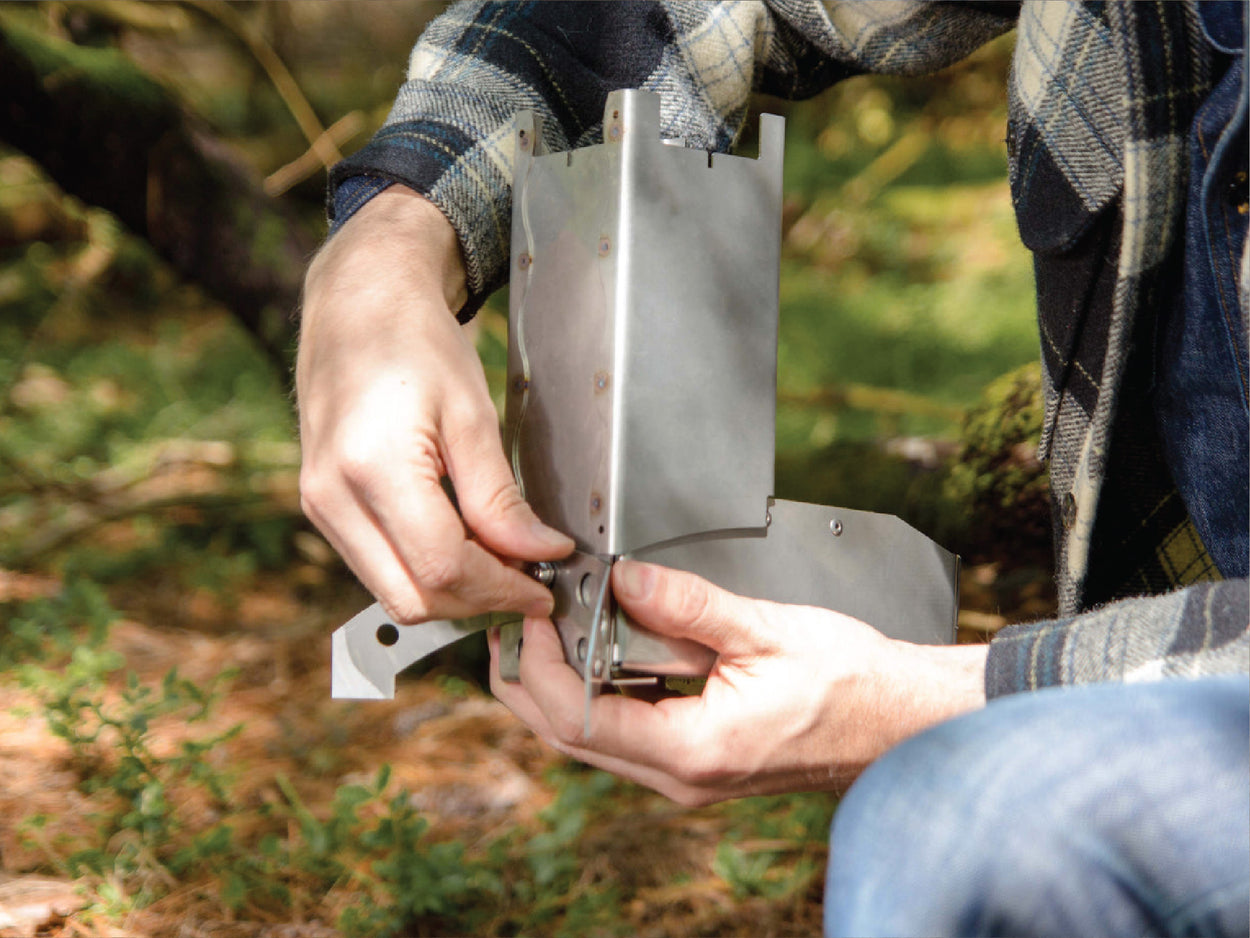
Assembling Your Hot Ash Stove
How to Assemble Your Hot Ash Rocket Stove
Thanks for choosing the Hot Ash Portable Rocket Stove—crafted in the USA for serious campers, preppers, and outdoor cooks. Built for durability and fuel efficiency, this stove is your go-to gear for everything from backcountry adventures to backyard grilling.
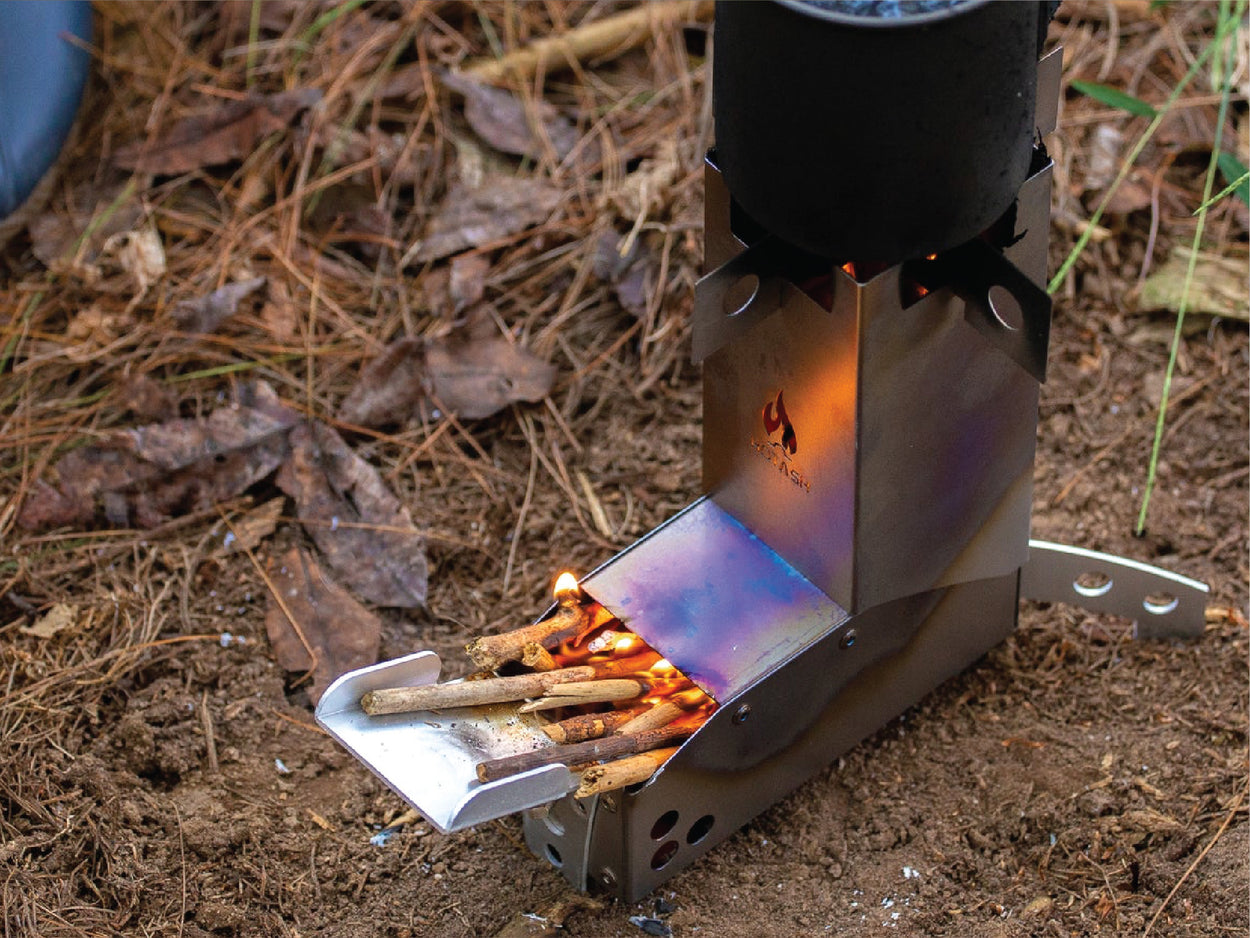
Step 1: Prepare Your Space
Set your stove on flat ground. Use dry sticks under 0.5" thick—straight ones burn better. Clear away leaves or debris to keep your setup safe.
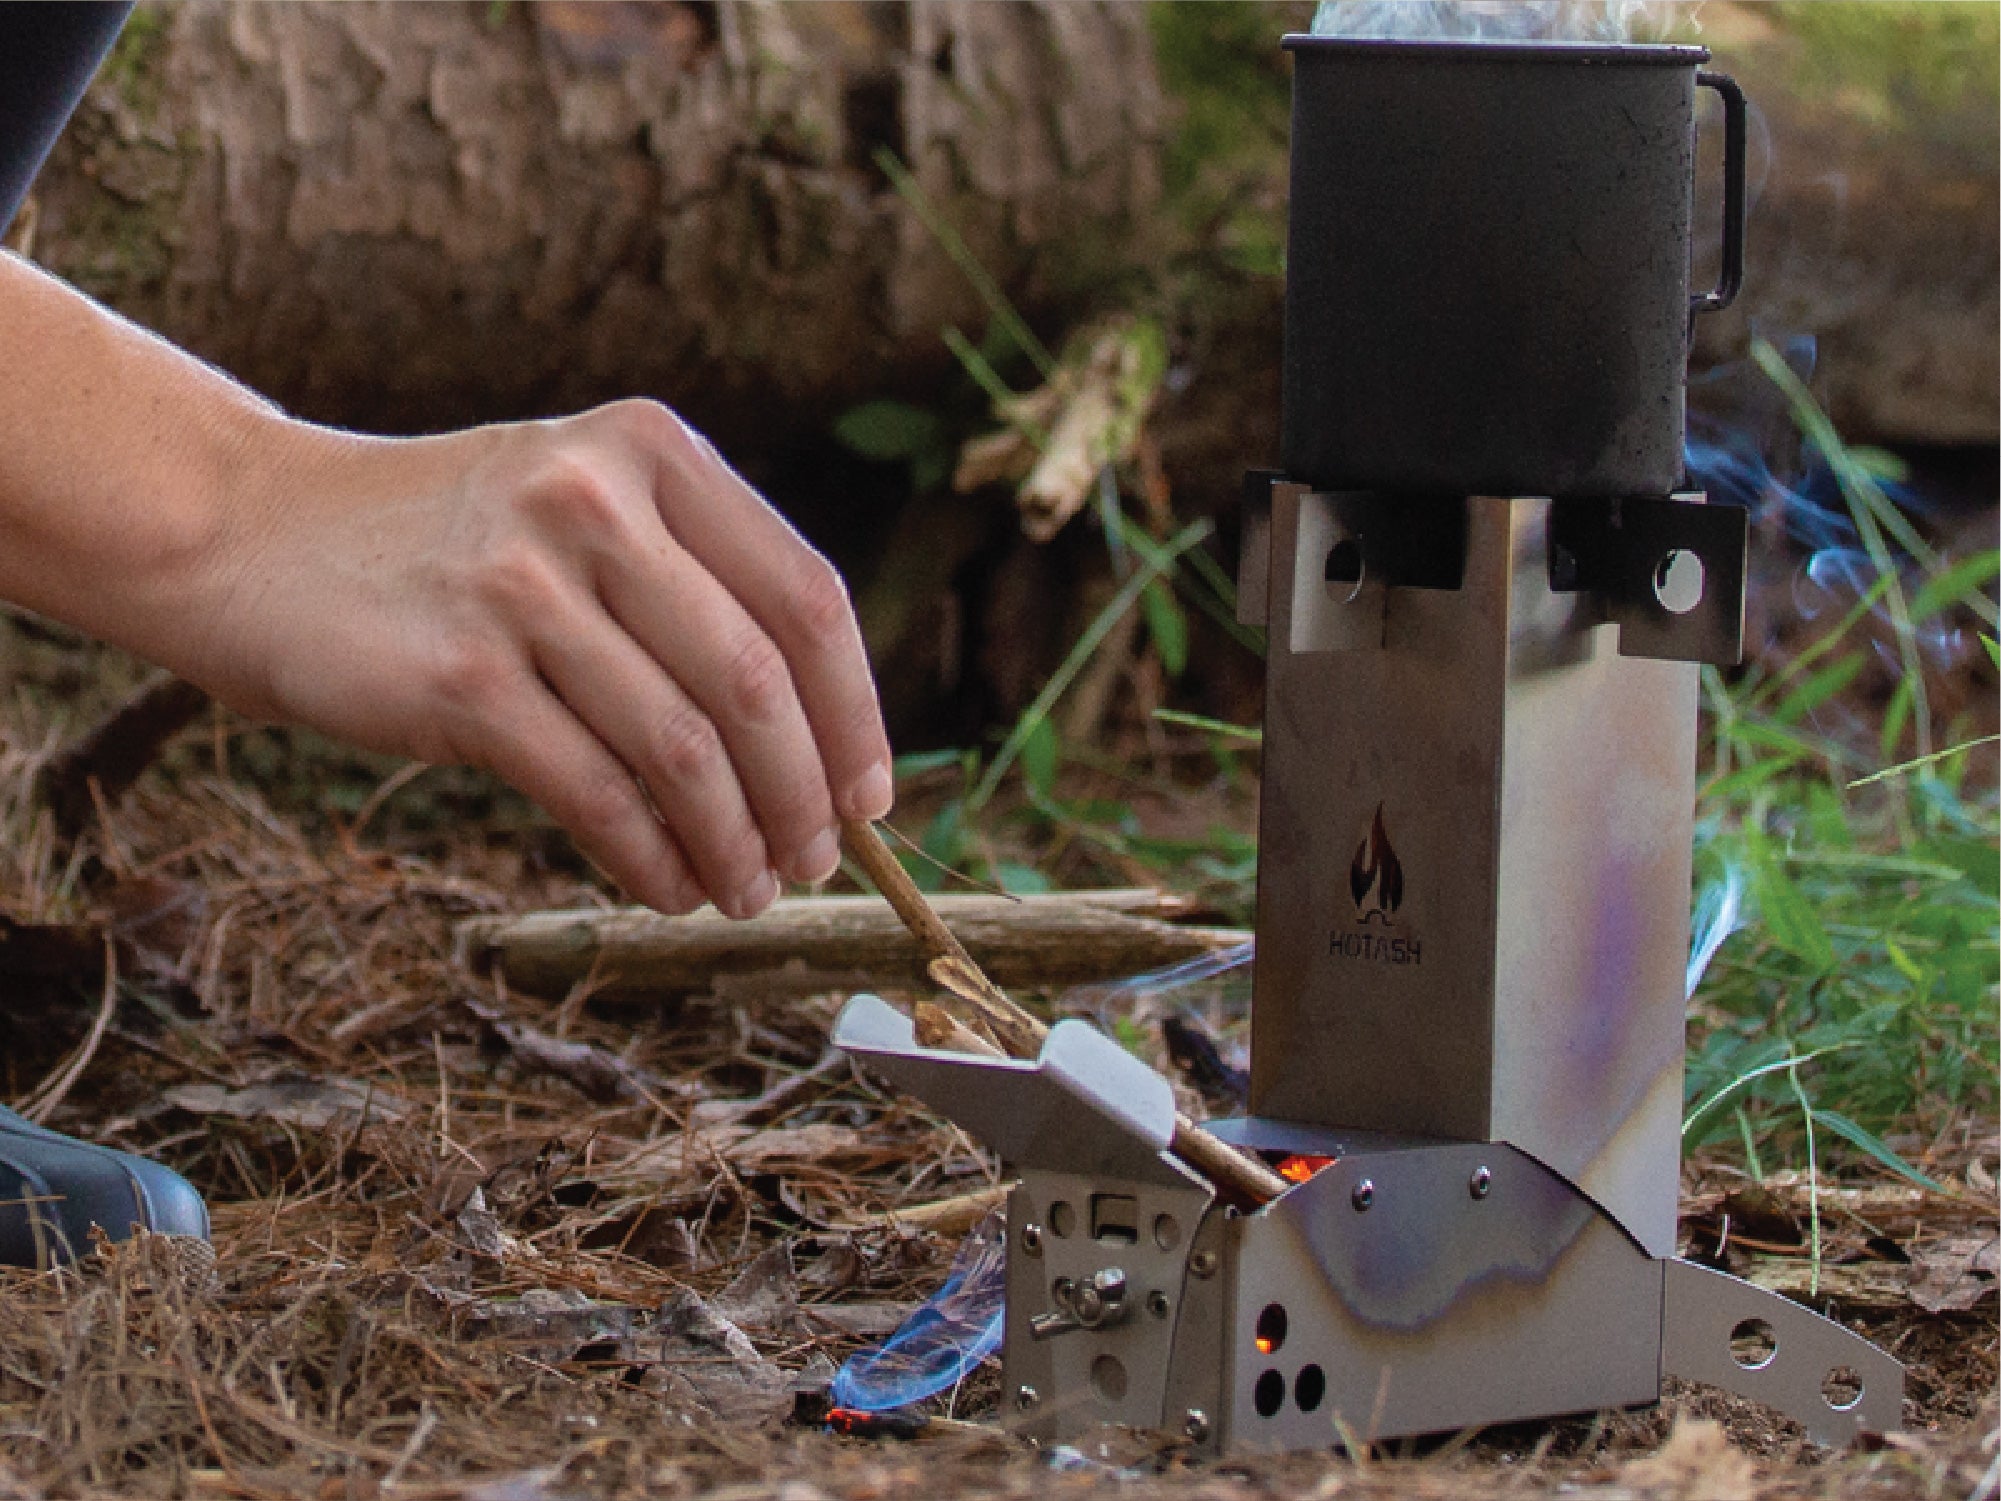
Step 2: Start Your Fire
Insert fuel into the bottom of the combustion chamber only. Keep the center clear for the best airflow and most efficient burn. ⚠️ Do not fill from the top of the chimney.
Step 3: Cook Like Normal
Use pans up to 9 inches in diameter. Once your food is done, let the stove cool fully before packing it away.
Step 4: Pack It Up
Once the stove’s cool, dump the ashes, wipe it down, and pack it up for your next adventure.
Watch the Full Setup Video
Prefer to see it in action? Watch our full walk-through showing how to assemble, light, and cook with your Hot Ash Stove:
Need Help or Want to Share Feedback?
We love hearing from you! If you have questions or ideas for improving your Hot Ash Stove, reach out to us or leave a review on Amazon.
Contact UsReady to Try It Yourself?
Explore our full line of American-made rocket stoves and fire gear built to last a lifetime.
Shop Hot Ash Stoves