Emergency Shelter Building
As you probably know, our rocket stoves are built to run on sticks, twigs, and any other bio-fuel you can find in your area. This makes them perfect for survival situations should an emergency ever arise. But cooking food isn't the only survival necessity you'll need if you find yourself trapped in a survival situation! The next step is finding shelter. And if you can't find shelter, sometimes you have to make it yourself.
Over the years, survivalists and experts have come up with many different kinds of shelters using tarps, tents, and even natural materials. Today we're going to talk about how to build two different kinds of temporary shelters using natural materials in case you ever find yourself stuck without much equipment.
1. The Lean-To

This one is a pretty simplistic, one sided shelter that will provide you with one roof and one wall. It doesn't offer tons of protection, but should give you more heat while you're sleeping and adequate rain coverage.
How to build it:
1. Get a long, strong branch and support it horizontally between two trees. this will serve as your roof line.
2. Lean sturdy branches along one side and then cover with brush. Next, pile on leaves, grass, and whatever smaller brush you can find to fill in the gaps. It should be well insulated on this side.
Pros & Cons
There are two main downsides of this shelter: 1. It has one wall which means it will not keep heat in on all sides. 2. It will only protect you from the wind on one side.
The benefits of this shelter are that it is easy to build and can be used to reflect the heat of a nearby fire to keep your warm.
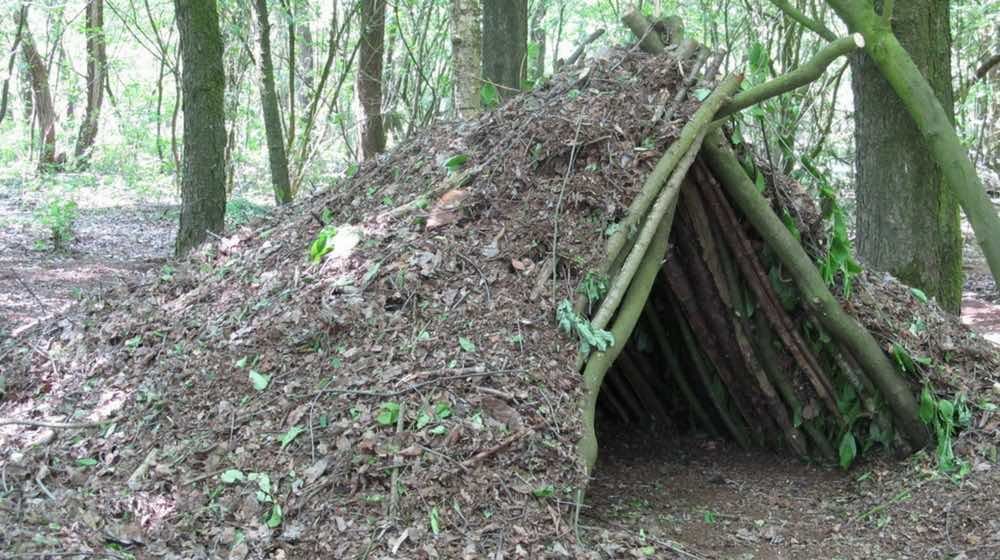
2. The Leaf Hut

The leaf hut is a little more time consuming than the lean-to, but you'll get two walls that converge at the back, a roof, and a doorway.
How to build it:
1. To build this hut, you'll need to find a long, strong, and straight branch about 10 feet long. Prop this branch up in the fork of a tree or a large rock at a height that allows to you crawl underneath it easily.
2. Lean branches on either side as far up as you'll need to comfortably sleep. Make sure to place them close together so leaves and brush won't fall through.
3. Place smaller, leafy sticks and brush on top of these branches. Once that is done, pile on any leaves and grasses you can find in the area. The thicker the covering you have, the more insulated you will be. If you're in an especially windy climate, you can lean more branches over the leaves to keep them from blowing away.
Typically, about 2 to 3 feet of your vegetation on either side will be enough to keep the rain out. You might also want to set some of this vegetation aside to line the inside of the hut for a makeshift bed.
Pros & Cons
The biggest drawback of this shelter is how time consuming it is to build. a lot more work goes into this shelter compared to the Lean-To.
The benefits of the Leaf Hut shelter are that it is much sturdier and holds will provide a lot more insulation and rain protection. You'll get two enclosed walls and just one opening to have to worry about.
So that's it for our rundown on emergency shelter building! If you're looking for gear to add into your bug-out bag, be sure to take a look at our rocket stoves. If you've got any other survival tips you'd like to share, leave a comment below!